MLA 30 Plus – SMA socket
I’ll skip the first steps, because I had already described them in the instructions for the BNC socket. You can read that here: http://mini-whip.de/2021/04/08/mla-30-plus-bnc-buchse/
- I stripped the cable a few cm, almost as long as the SMA socket is.
- Now I have bent the outer conductor backwards.
- Then I soldered the inner conductor.
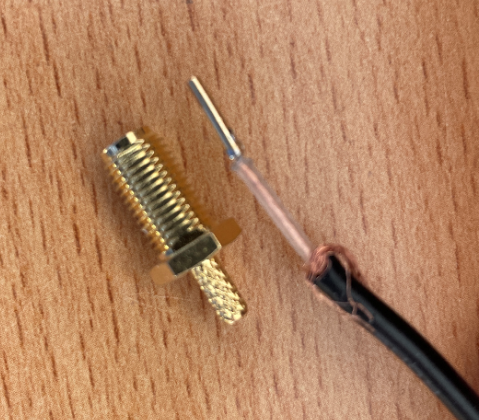
- Since I decided to use the crimp variant of the SMA socket, I now have to pull the heat shrink tubing and crimp sleeve onto the cable
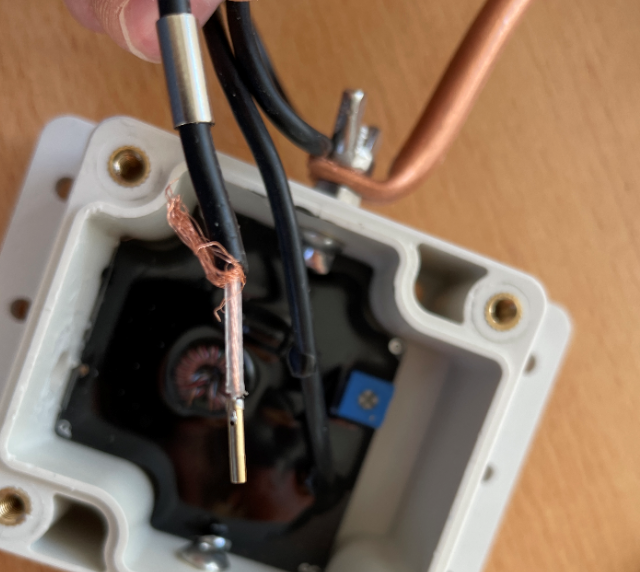
- Now the inner conductor can be inserted.
- Next, the outer conductor must be bent forward again and the crimp sleeve put on.
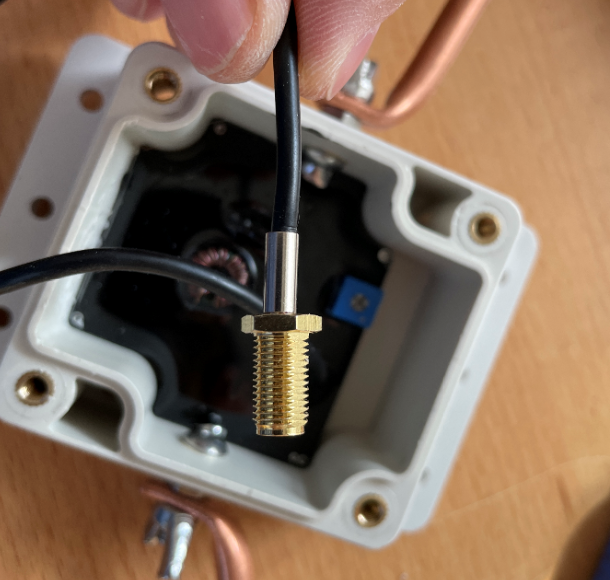
- Now the connector can be crimped.
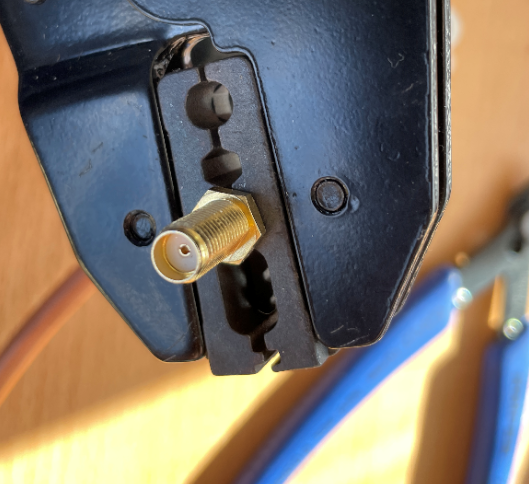
- The whole thing should then look like this.
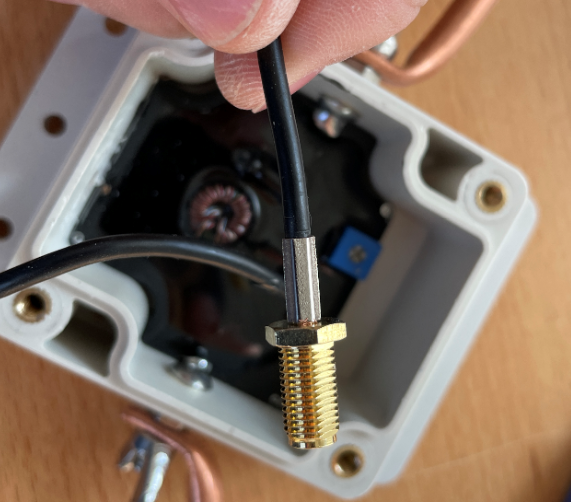
- Finally, I pulled a heat shrink tube over the connection.
- It should then look like this.
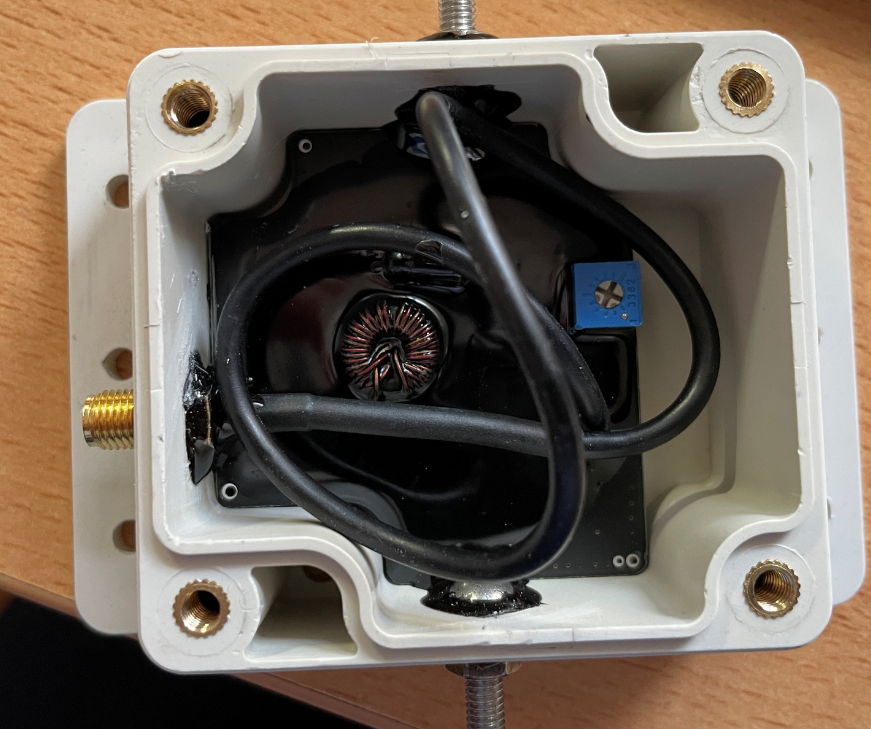
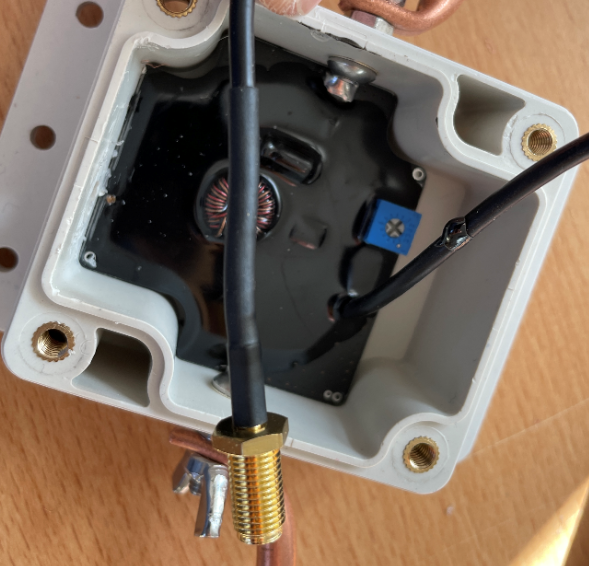
- Finally I glued the bushing and the screws for the loop with epoxy.
- Before that, I roughened the areas with a file so that the epoxy would sit better.

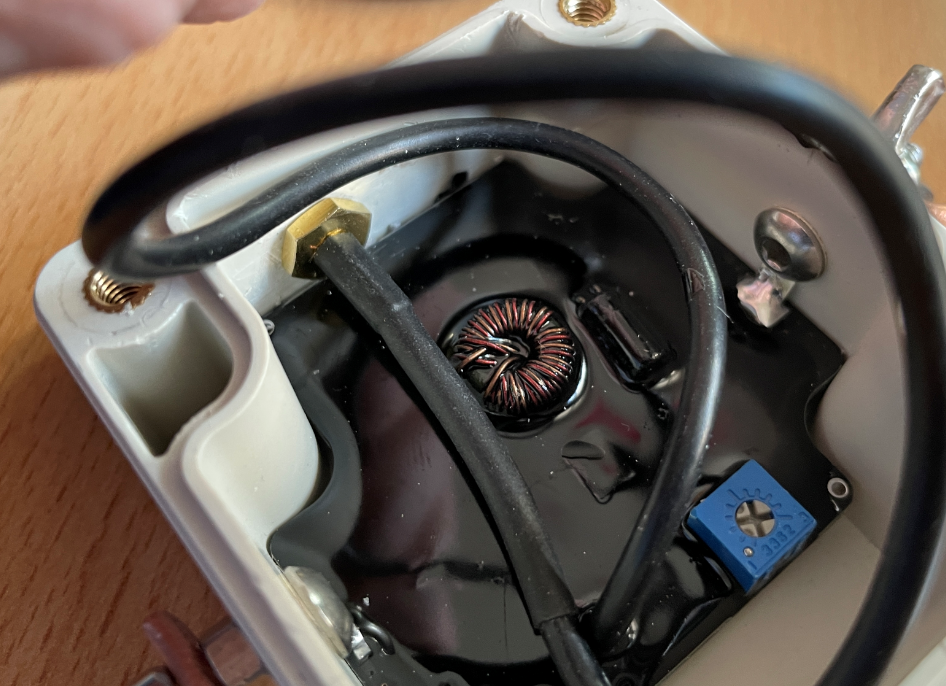
- The last thing to do is to fold the cable and close the lid.
- I left the cable extra longer in case I still want to make adjustments.